
Lots of stuff going on behind this poster!

The inspiration came in the first place from this piece of concept art. So I began with the waterfalls, and not too far into the building process I started taking pictures in order to see what would be in the final frame.

For a bit I toyed with the idea of leaving a gap in the water and taking a really low angle picture. In the end I filled that up, since I felt it would be too restrictive on my final angle.

This front rock covers a lot of the background, so I added it after the waterfall in order to see how much it would block out. Also had fun with these minifigures, tried hard to pick a color scheme for them that would make them stand out, but not be too clashing. Lime green may or may not have been ideal, but then, I’m also pretty restricted by my space outfits!

As you can see in this shot, there is so much gappiness here! It was really fun building something that looked like an utter mess from most angles, but all fit together for the shot I wanted.

The gaps in the stonework are awful, especially on the top, but I built this in three days, so I didn’t have time to waste on anything that wouldn’t make the final shot!

I usually make a point of bringing a black shirt or something with me when I photograph a LEGO scene. It’s a quick and easy way to make sure you don’t get light shining through in unwanted places.

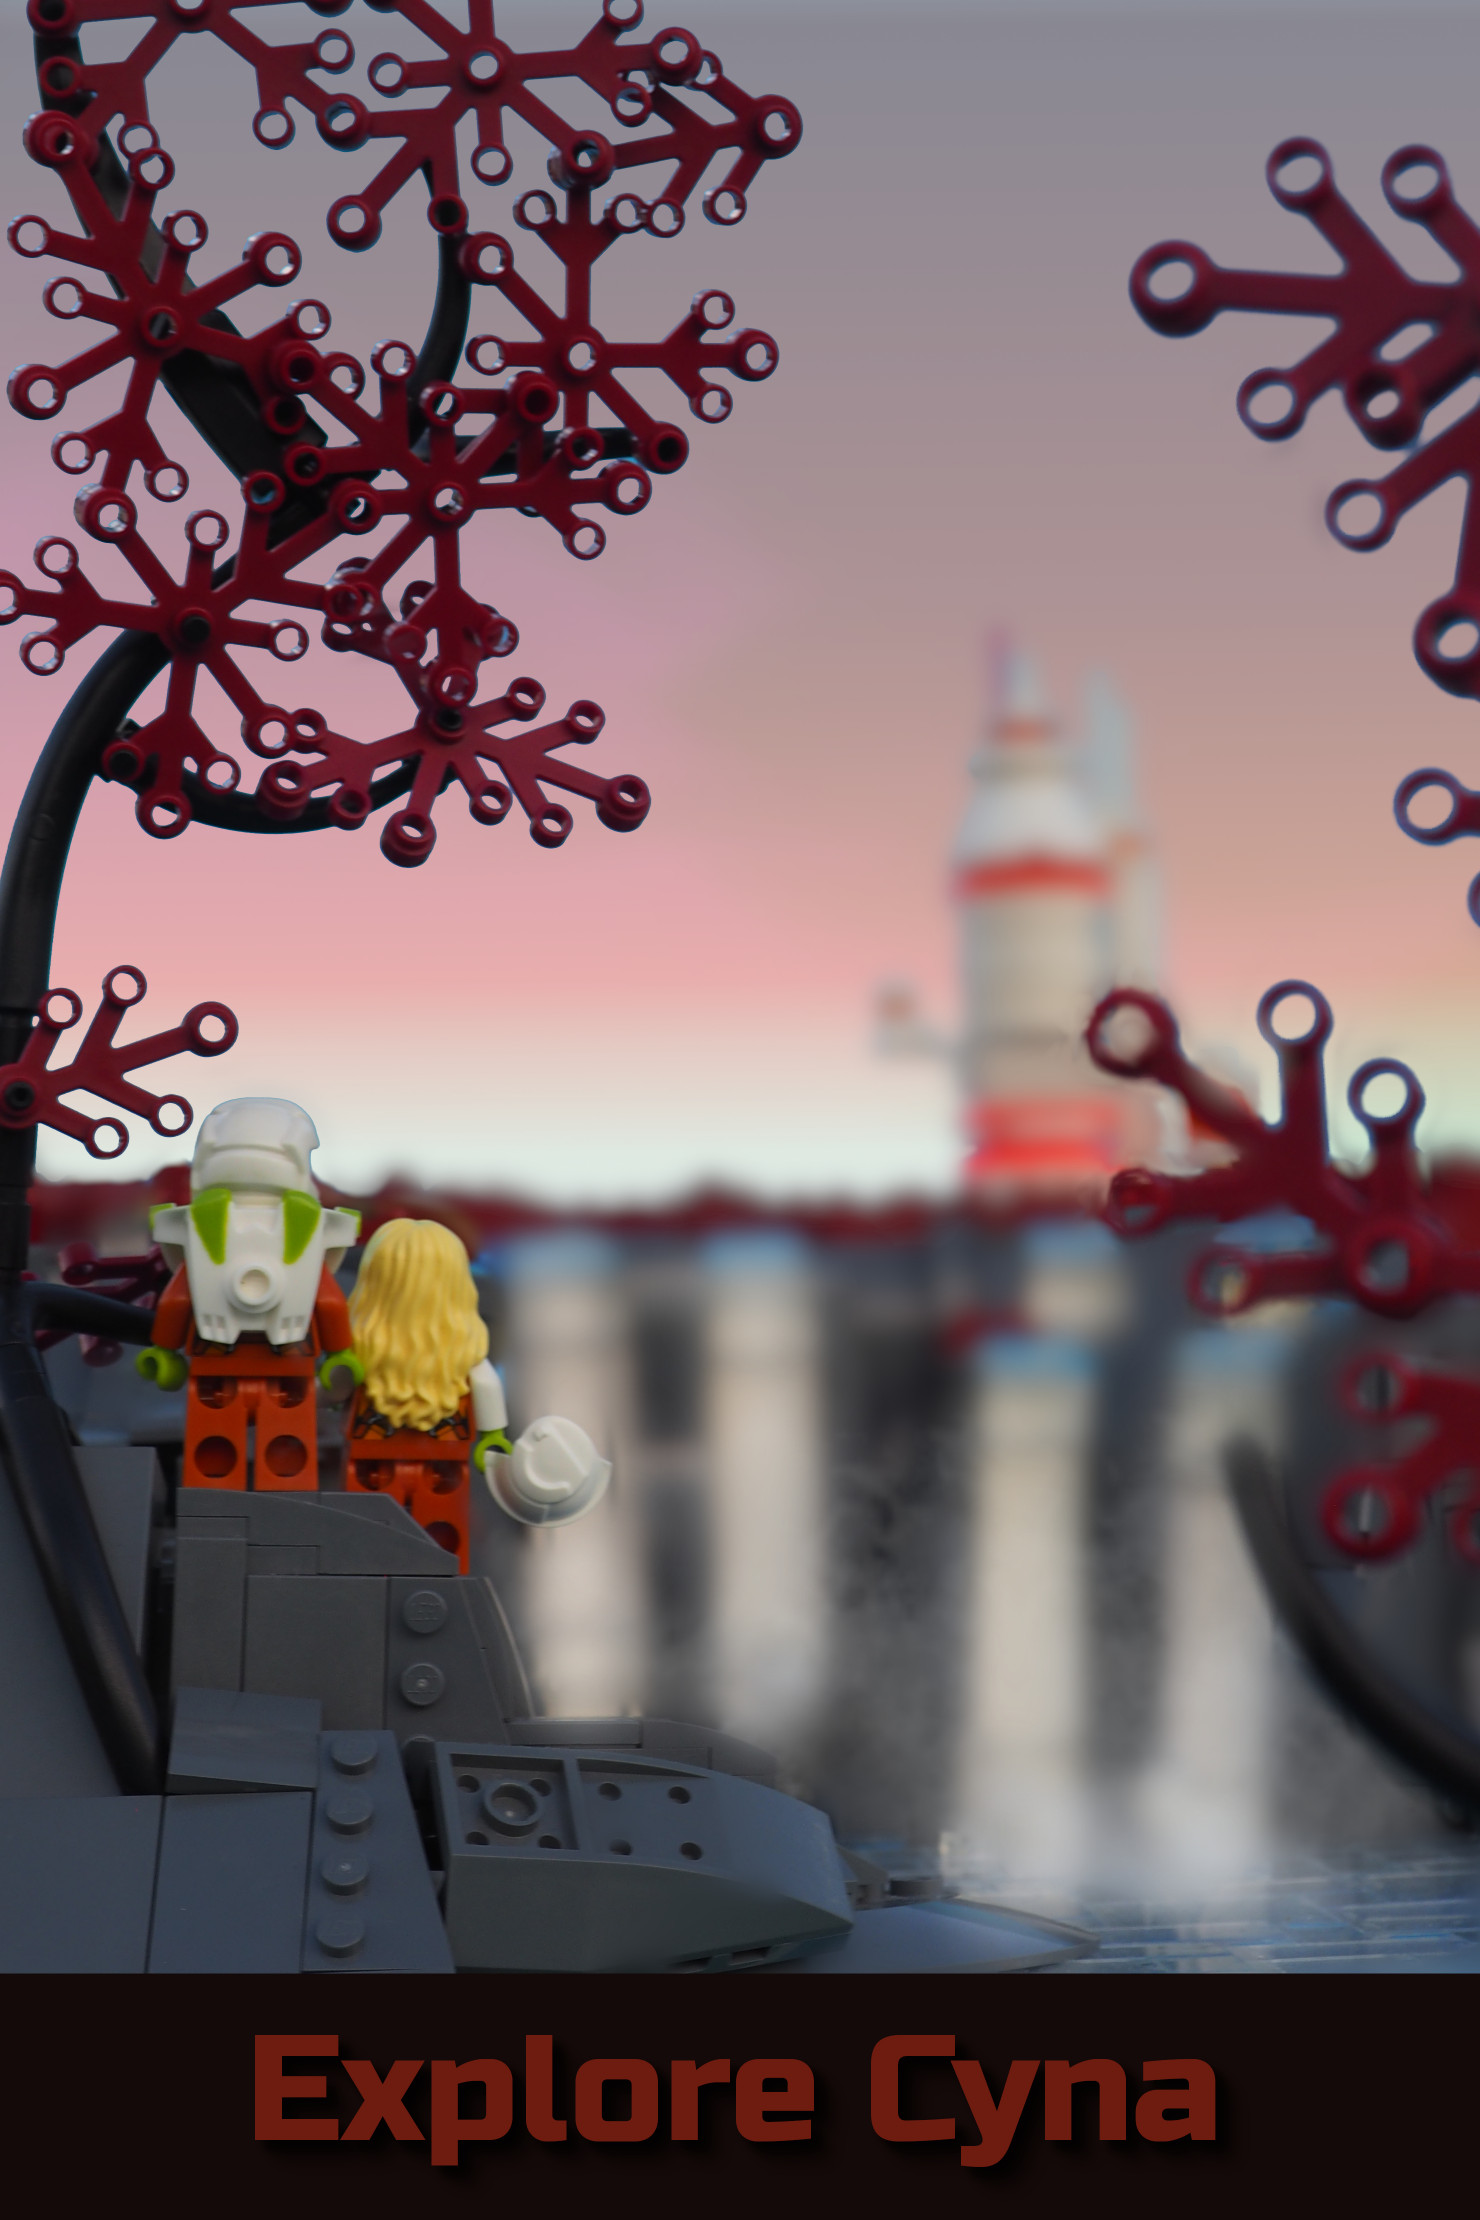
After taking way too many angles, I finally settled on this one for the final edit.

Then I had a terrible time trying to decide how much sunrise to include in the background! Here’s one with a bluer sky.
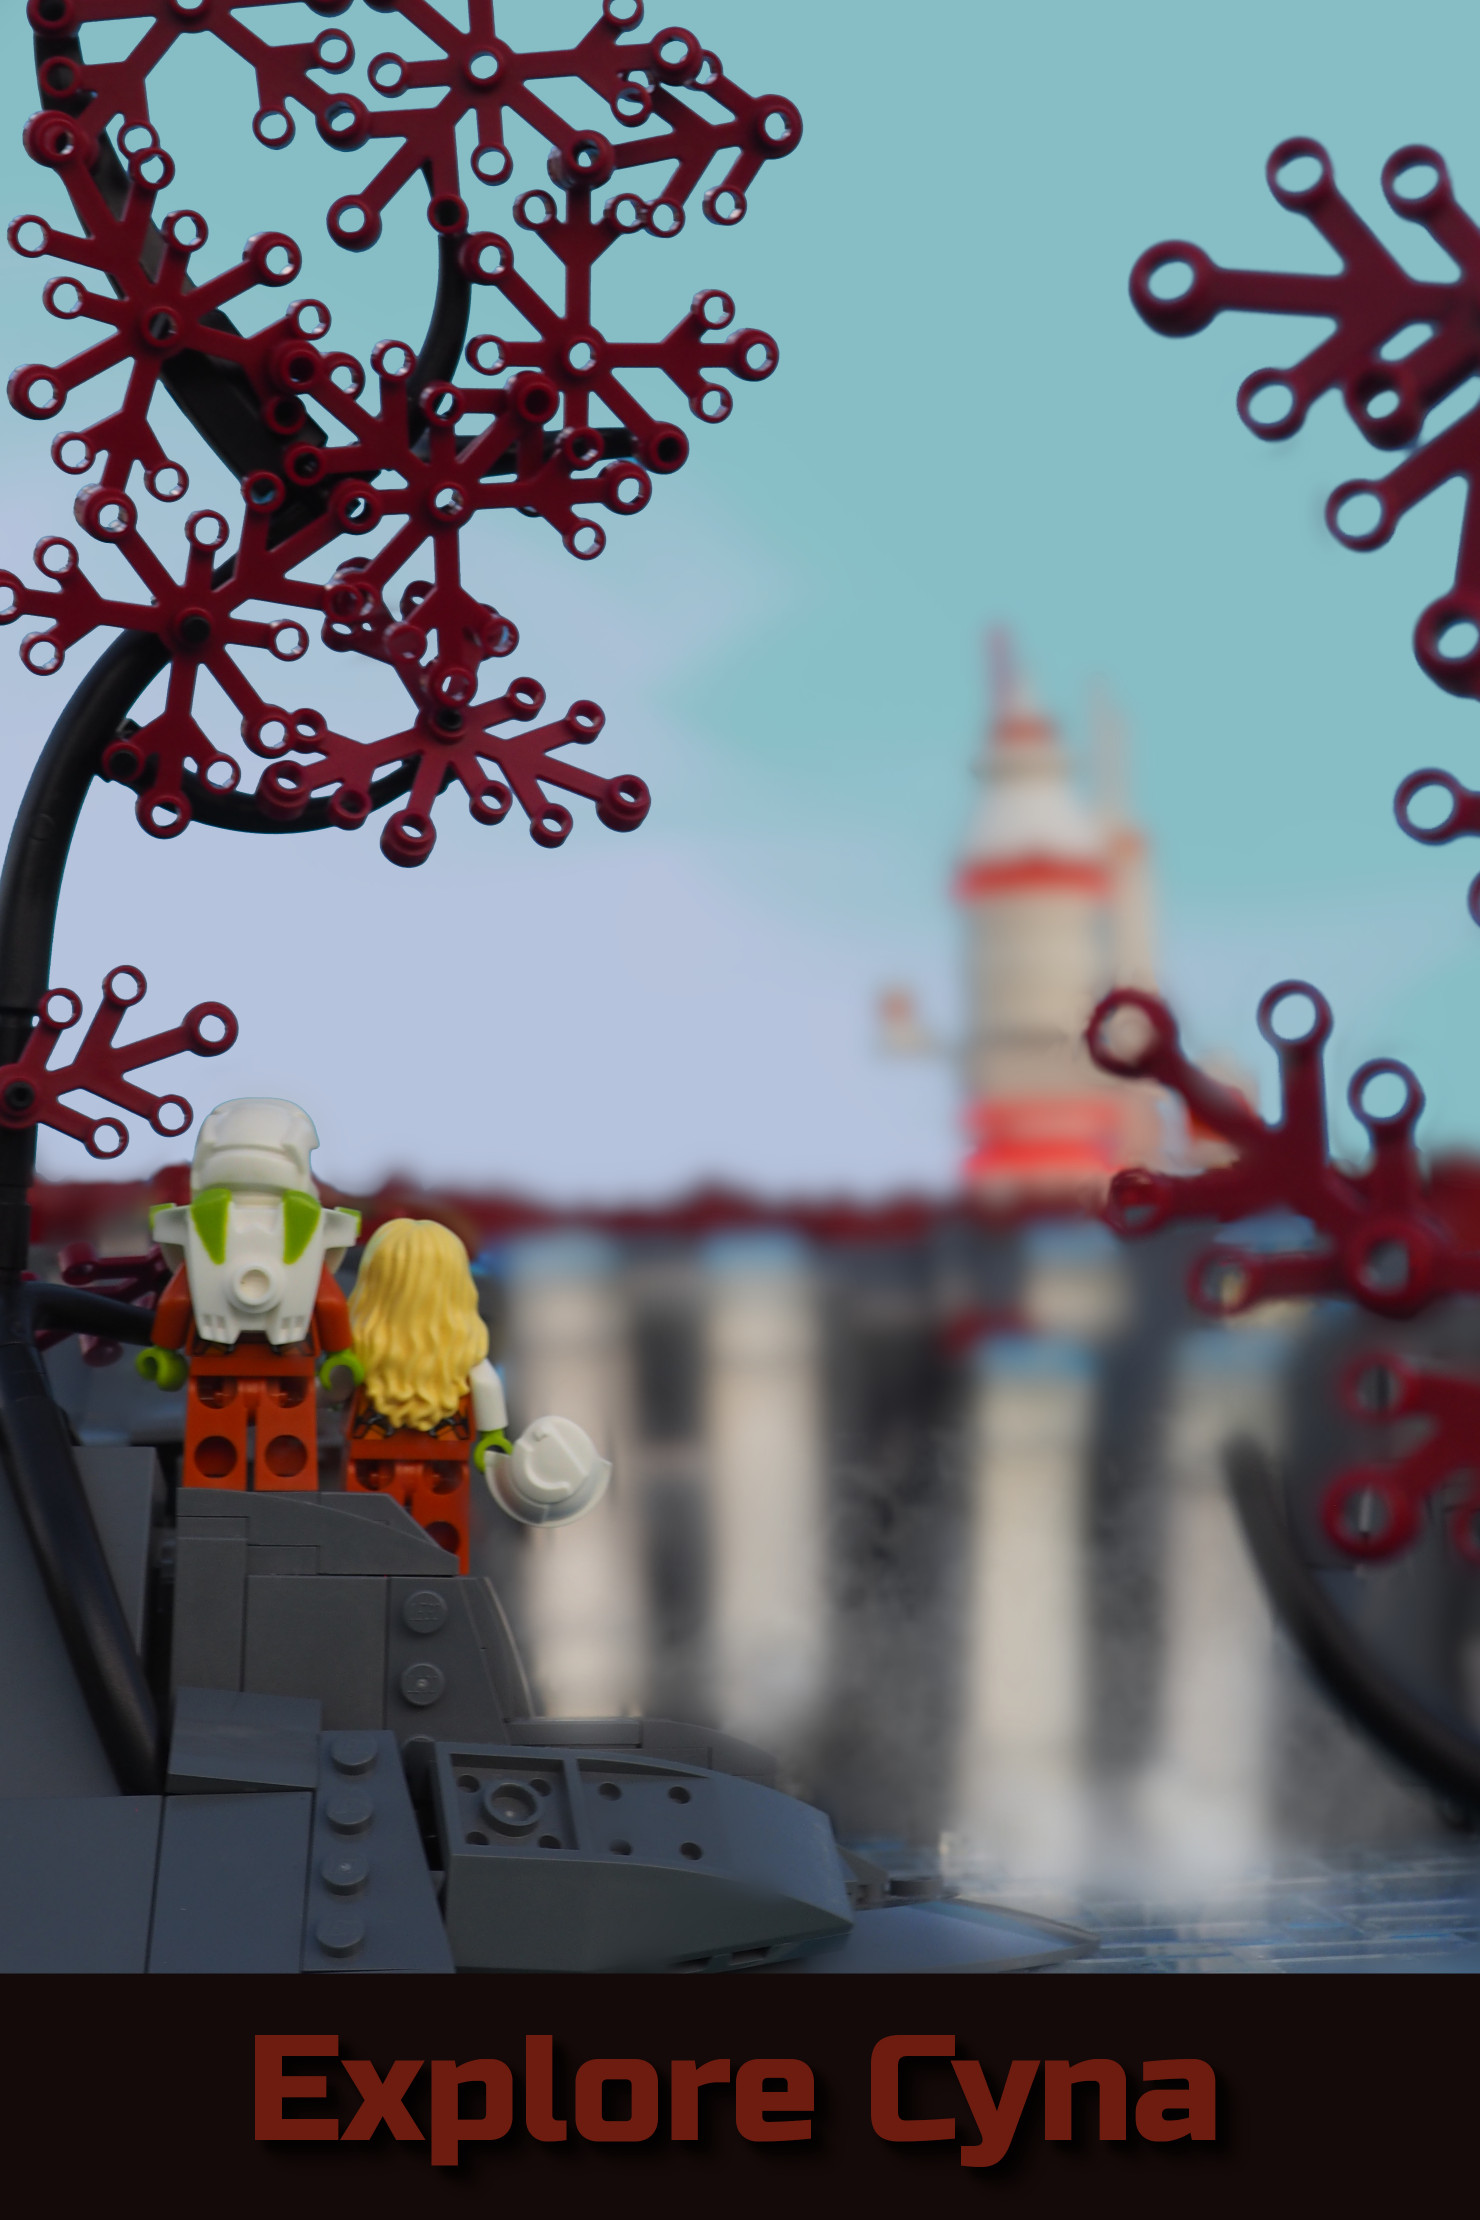
The edit involved cutting out the sky, blurring the background, adding a bit of fog, brightening the waterfall, and several other minor adjustments!
And that’s it for our look behind the scenes at my poster! You might enjoy seeing behind the scenes of some of my previous creations:
